Create project
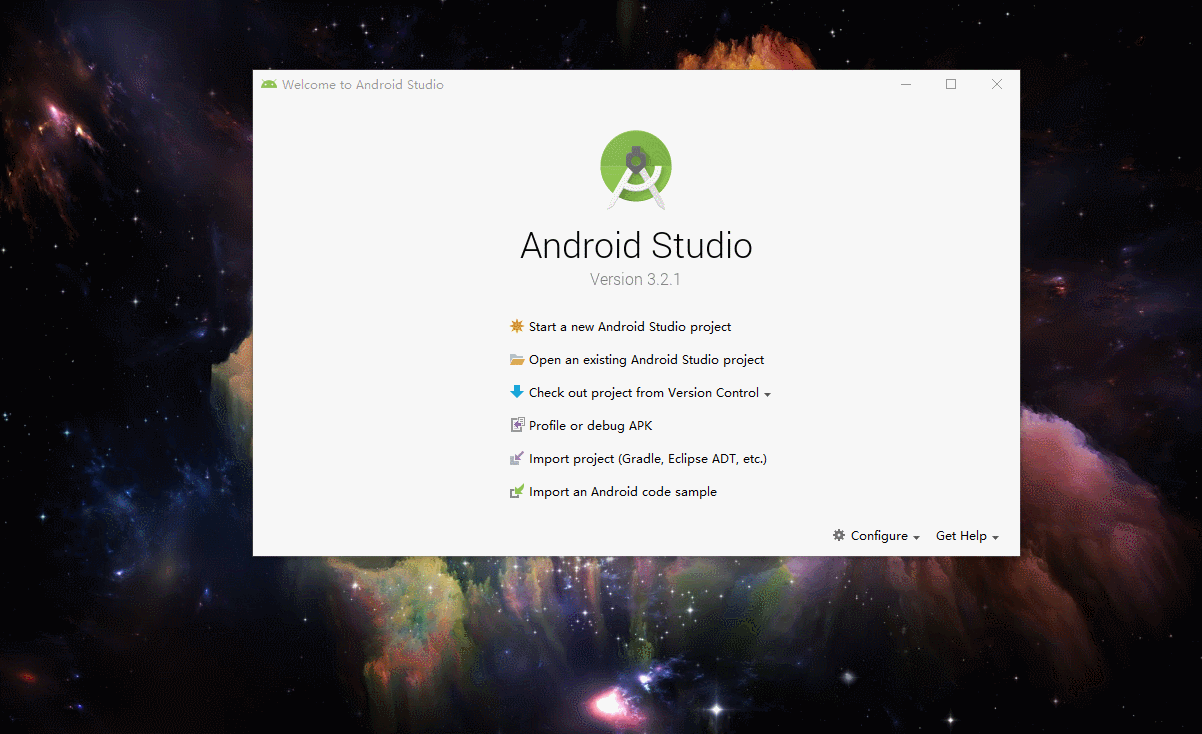
let’s start android studio and create a project it’s name for you self.and then, choose your build version,and then ,setup.finish.
Visit main file locations
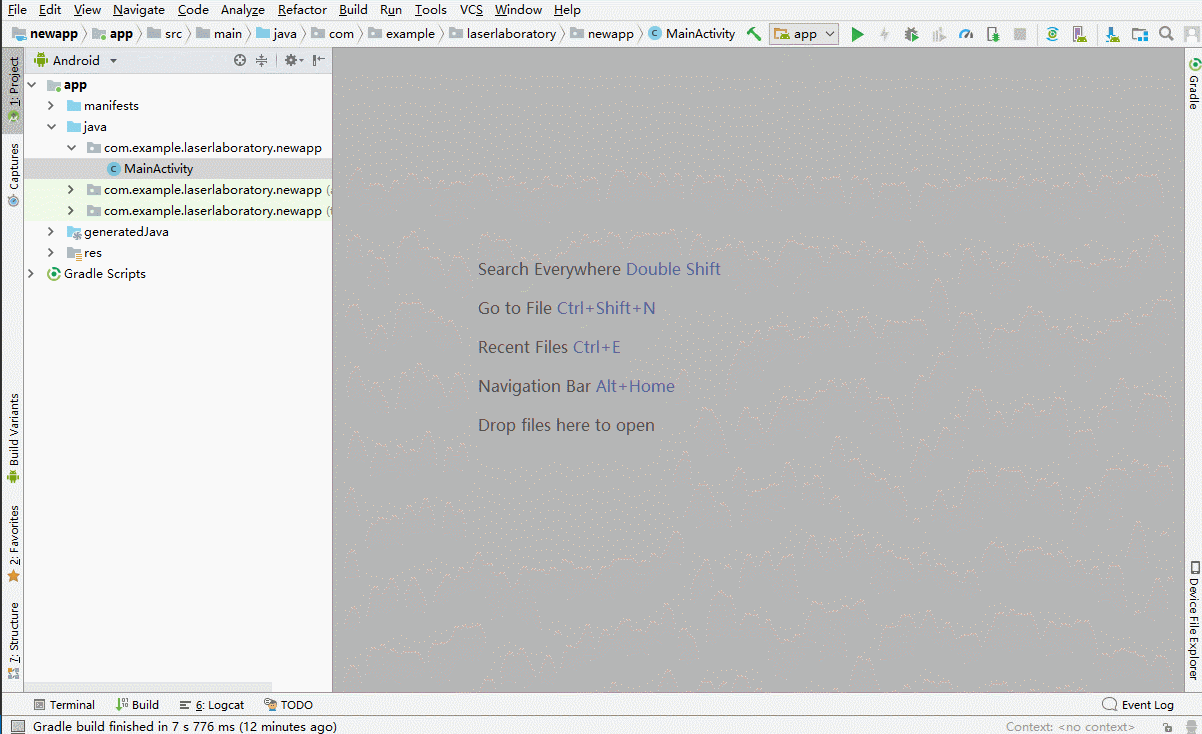
when us created it ,we can found the main file, the main file has Java file,and Layout file,and Manifests file.
the Java file at Java/packagename.computerusername.project/MainActivity.java
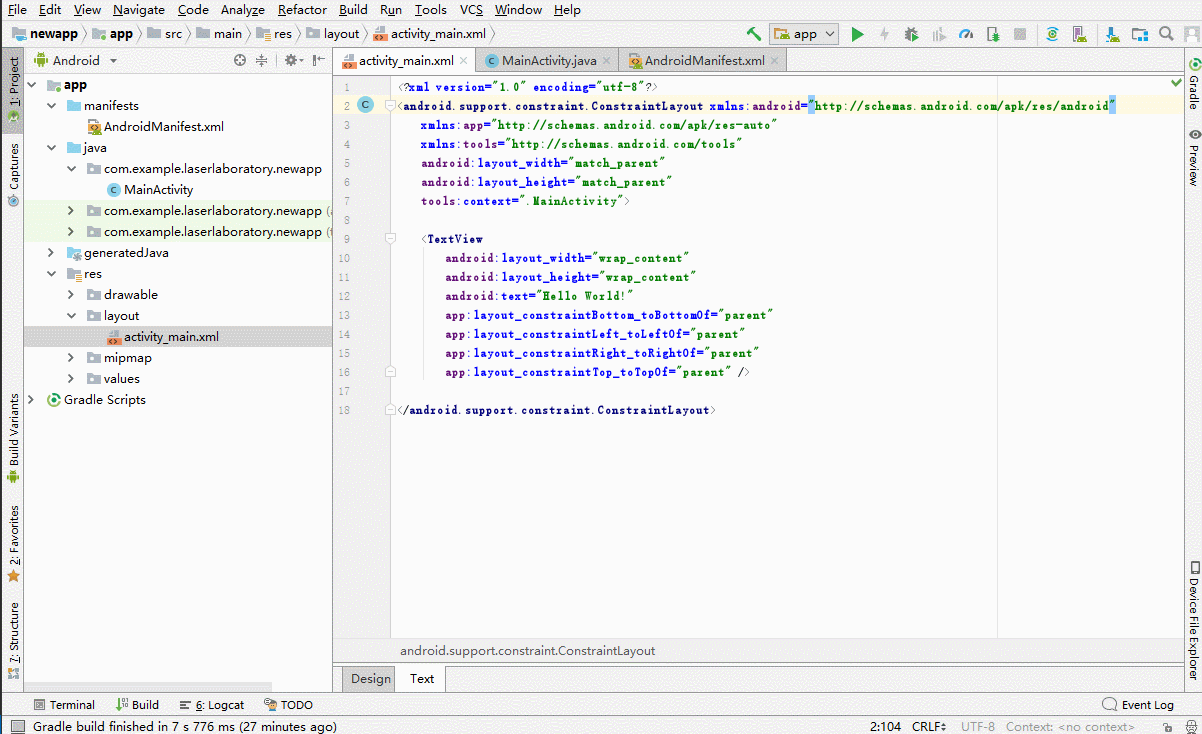
the Layout file at Res/layout/layout_main.xml
the Manifests file at manifests/AndroidManifests.xml
Starting code write
layout has some type,but today,we’re only need linearlayout.it’s control easy.
enter layout edit text page.
 and then to change code.
change line 2 code
and then to change code.
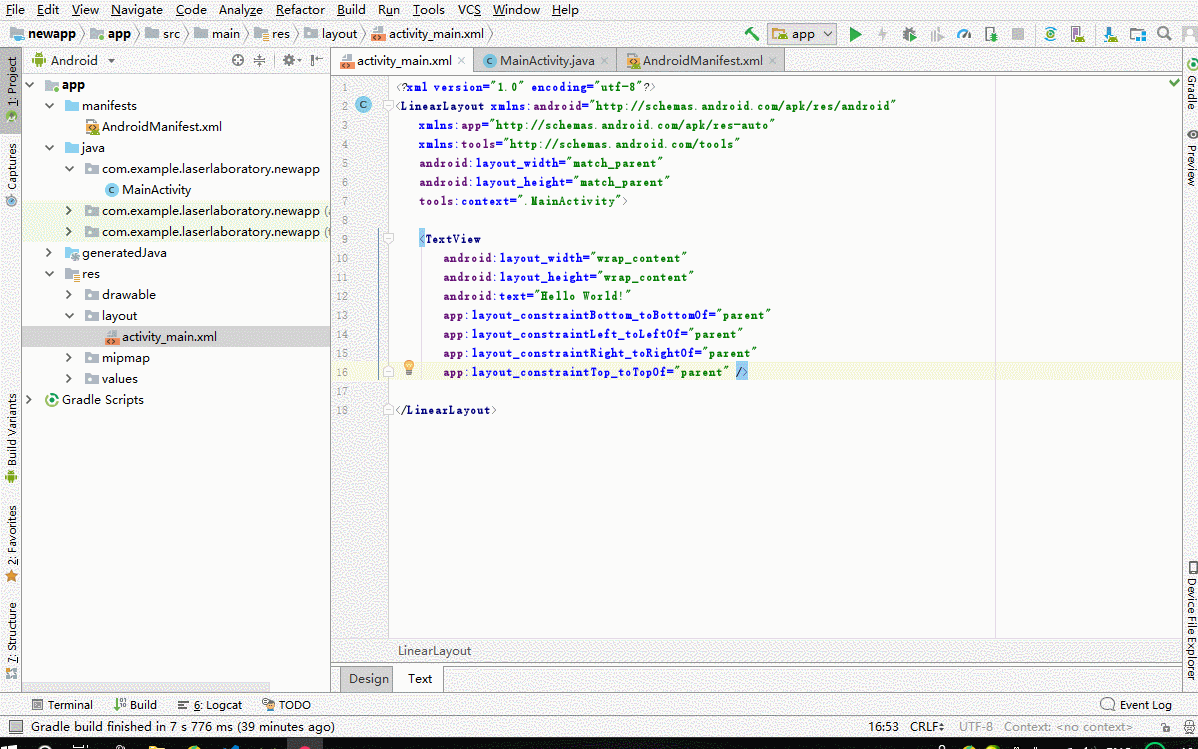
change line 2 codeandroid.support.constraint.ConstraintLayout xmlns:android="http://schemas.android.com/apk/res/android
change to
LinearLayout xmlns:android="http://schemas.android.com/apk/res/android
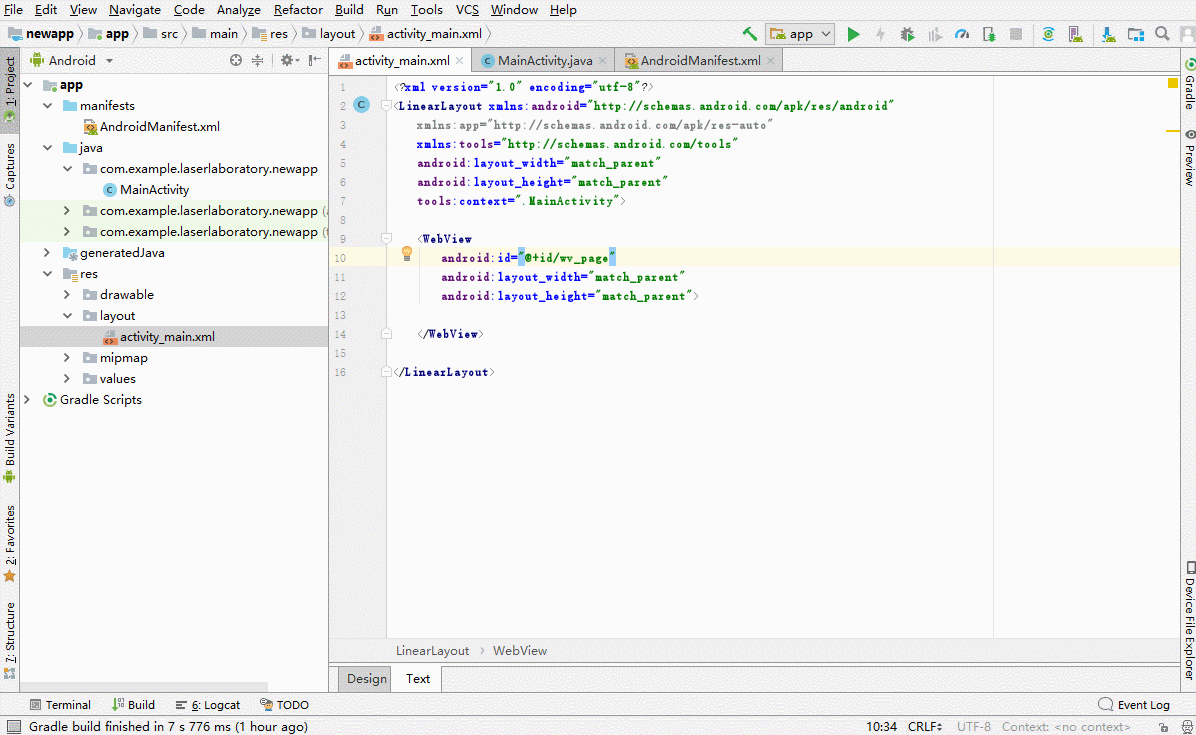
Add Webview
 del textview code to create webview and new ID for it .
write code and add ID
del textview code to create webview and new ID for it .
write code and add ID
android:id = "@+id/wv_page"
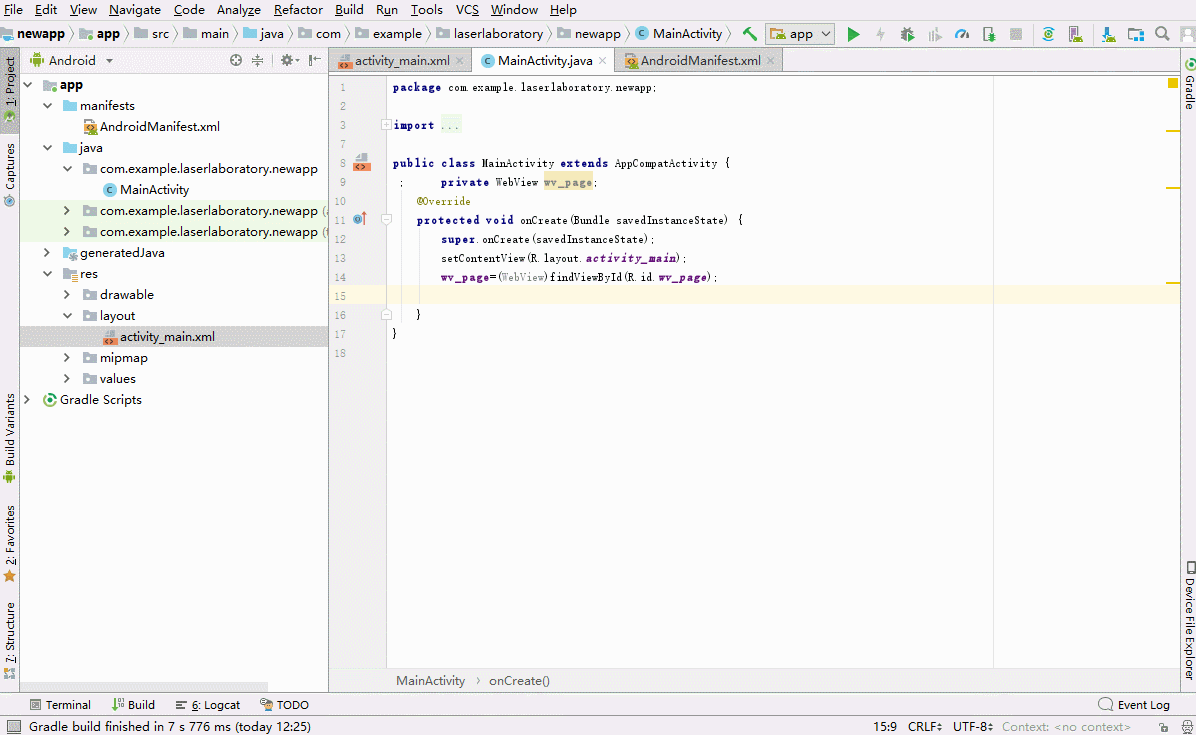
Registration component
 enter java page to add registration component.
private WebView wv_page;
wv_page=(WebView)findViewById(R.id.wv_page);
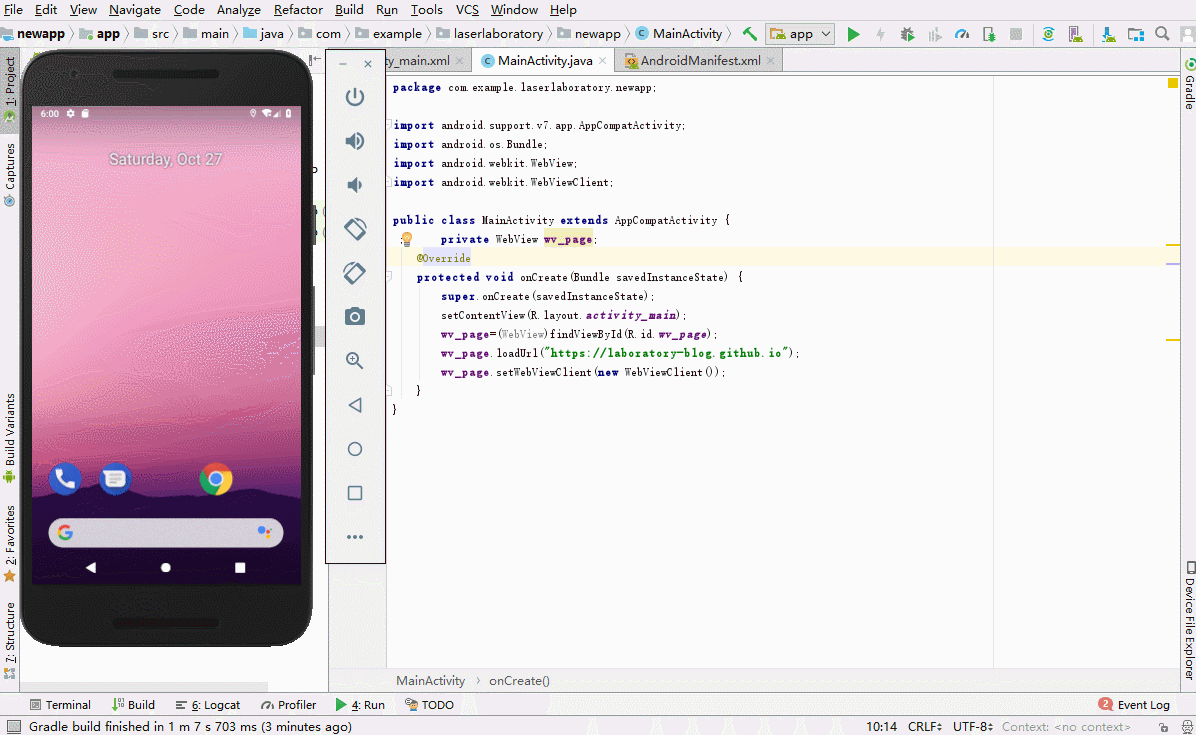
Add parameters
create some parameters to visit our blog page.
wv_page.loadurl="https://laboratory-blog.github.io"
.loadurl can change webview to visit website url.
wv_page.setWebViewClient(new WebViewClient());
.setwebviewclient can help when prevent this app from jumping out when the button is clicked.
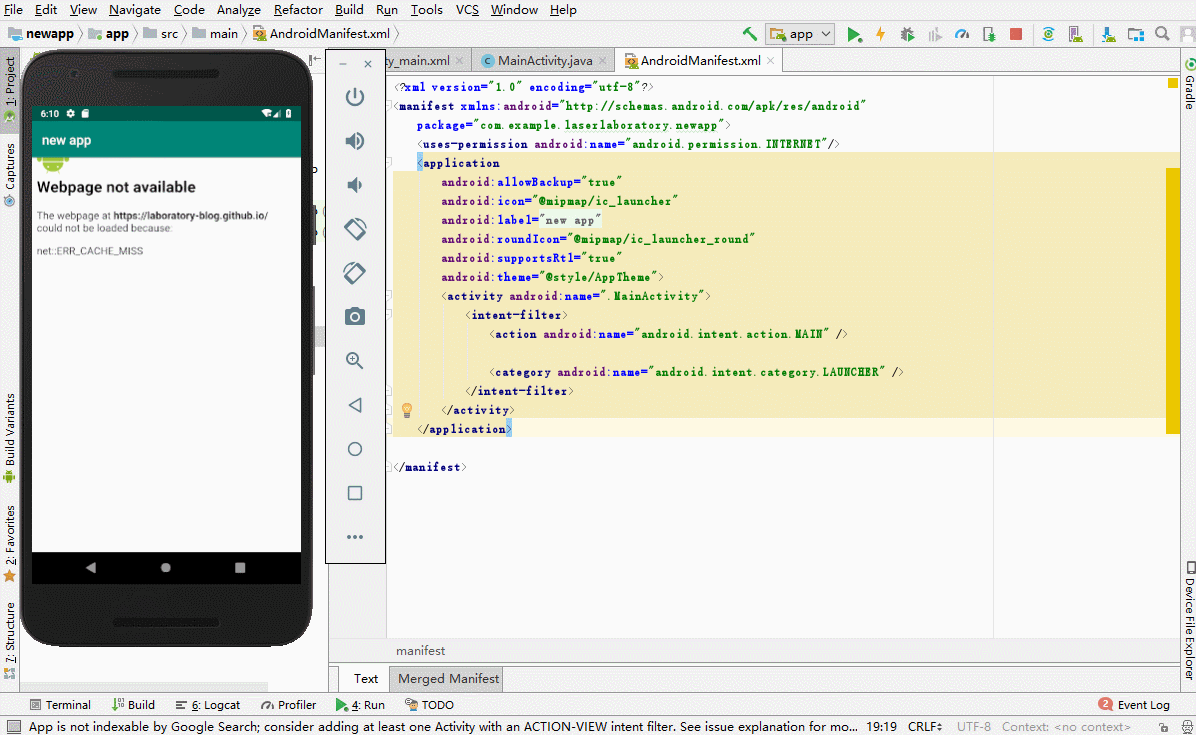
Run app on virtual phone
 yes we can see it’s show us net::ERR_CACHE_MISS.
why did it happen this? because we not give app visit Internet permission
Give it permission for Internet
 enter manifests file and add code
 uses-permission android:name="android.permission.INTERNET"
Run it again
 yes it’s can visit our blog site normal.
End
it’s OK,now.and the last time,i will push about how to push and how to made youself key for app,bye.